| Note: From October 1st, 2025, we introduced new plans that better reflect how our customers use Deputy: Lite, Core, and Pro. If you're an existing customer, look out for an email with all the details you’ll need. Learn more about the new plans and what this change means for you. |
Color area coding allows you to easily distinguish between areas when viewing your schedule.
Assigning area colors
1. To assign a color to an area, click on the Schedule page and select a View by Area display option.
2. Hover over the area name and click the 3 dots next to the area you would like to assign a color to.
3. A pop-up box will appear. Click the Color drop-down box.
4. Select one of the preset colors, or you can select a custom one.
5. Remember to click SAVE at the bottom of the Edit Area module to confirm your changes.
You can also edit and change the color of each area via the Areas within your Location Settings. Simply follow the same steps as above to change the area colors.
Where will color area coding appear?
You will be able to see this in a number of places.
Schedule Page - Area View:
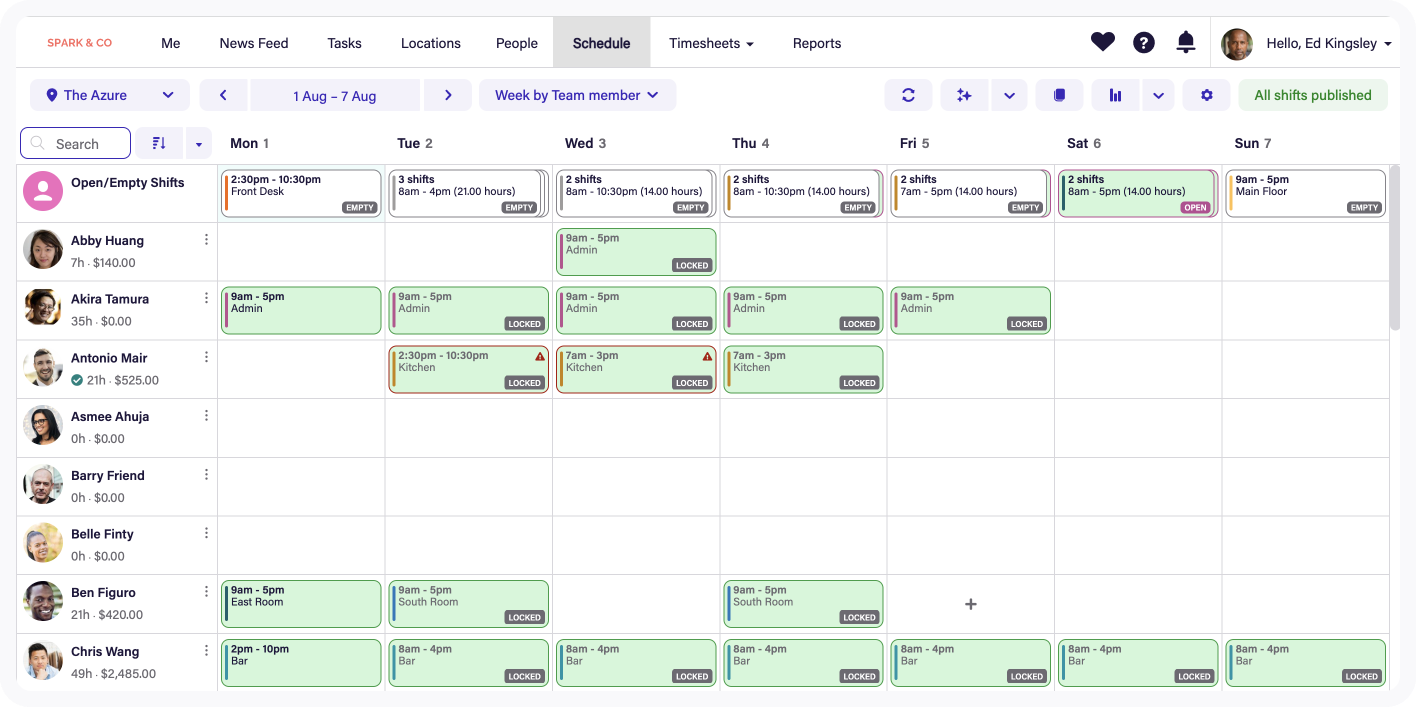
Schedule Page - Employee View:
 Schedule Export - Excel:
Note: color coding will not appear in the CSV file export as shown in Printing your schedule.